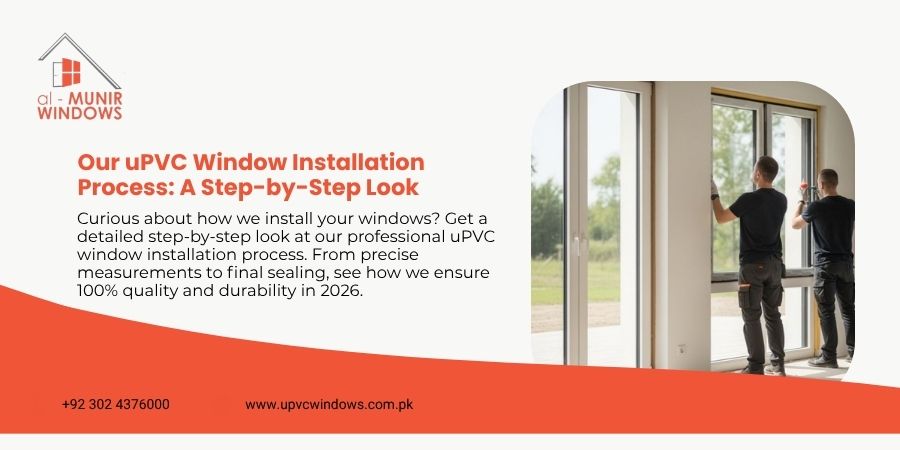

Upgrading your home with uPVC windows is a smart investment that enhances energy efficiency, security, and overall aesthetics. But what truly makes the difference is how well those windows are installed.
For best installation for your windows contact with Al Munir uPVC Windows.
Why Proper uPVC Window Installation Matters
Even the highest quality uPVC windows won’t perform well if they’re poorly installed. A precise installation ensures:
- Better insulation and energy savings
- Long-lasting durability
- Noise reduction
- Airtight sealing against dust and moisture
That’s why we follow a detailed and proven installation process.
Step 1: Initial Consultation and Site Survey
Every successful installation starts with a thorough consultation. Our team visits your location to:
- Take accurate measurements
- Assess wall conditions
- Understand your design preferences
This step ensures that your uPVC windows are custom-fit for your space.
Step 2: Window Design and Customization
Based on the survey, we help you choose:
- Window styles (sliding, casement, tilt & turn)
- Frame colors and finishes
- Glass options (double glazing, tinted, etc.)
Step 3: Preparation Before Installation
Before installation day, we prepare the area by:
- Removing old windows (if applicable)
- Cleaning and leveling the opening
- Checking for structural issues
This step ensures a smooth and hassle-free installation process.
Step 4: Installing the uPVC Window Frame
- Aligned for perfect leveling
- Secured using high-quality fasteners
- Checked for stability and accuracy
Precision here is critical for long-term performance.
Step 5: Sealing and Insulation
We use advanced sealing techniques to:
- Fill gaps with foam insulation
- Apply weatherproof sealants
- Prevent air and water leakage
This step is key to maximizing energy efficiency and comfort.
Step 6: Glass Installation and Finishing
Once the frame is secure:
- Glass panels are fitted carefully
- Hardware like locks and handles is installed
- Final adjustments are made for smooth operation
We ensure every window opens and closes perfectly.
Step 7: Final Inspection and Cleanup
- Conducts a quality check
- Tests functionality and sealing
- Cleans the installation area
We leave your space neat, with beautifully installed uPVC windows ready to use.
Benefits of Our Professional Installation Process
Choosing our installation service means you get:
- Expert craftsmanship
- High-quality materials
- Long-lasting performance
- Peace of mind with reliable service
Contact with our team for Professional Installation Process.